My name is Tom Kahler, I’m a photographer from the UK and I’m best known for my minimal and unique storytelling on Instagram. I’ve been a photographer for 10 years now which has taken me all over the world creating images that either tell stories or capture products in amazing locations. My love for photography has evolved over the years as have I as an individual. Styles, locations and subjects vary from year to year, however, my love for photography has always been consistent and it's fair to say I would be very lost without it.
Iceland: A photographer's playground
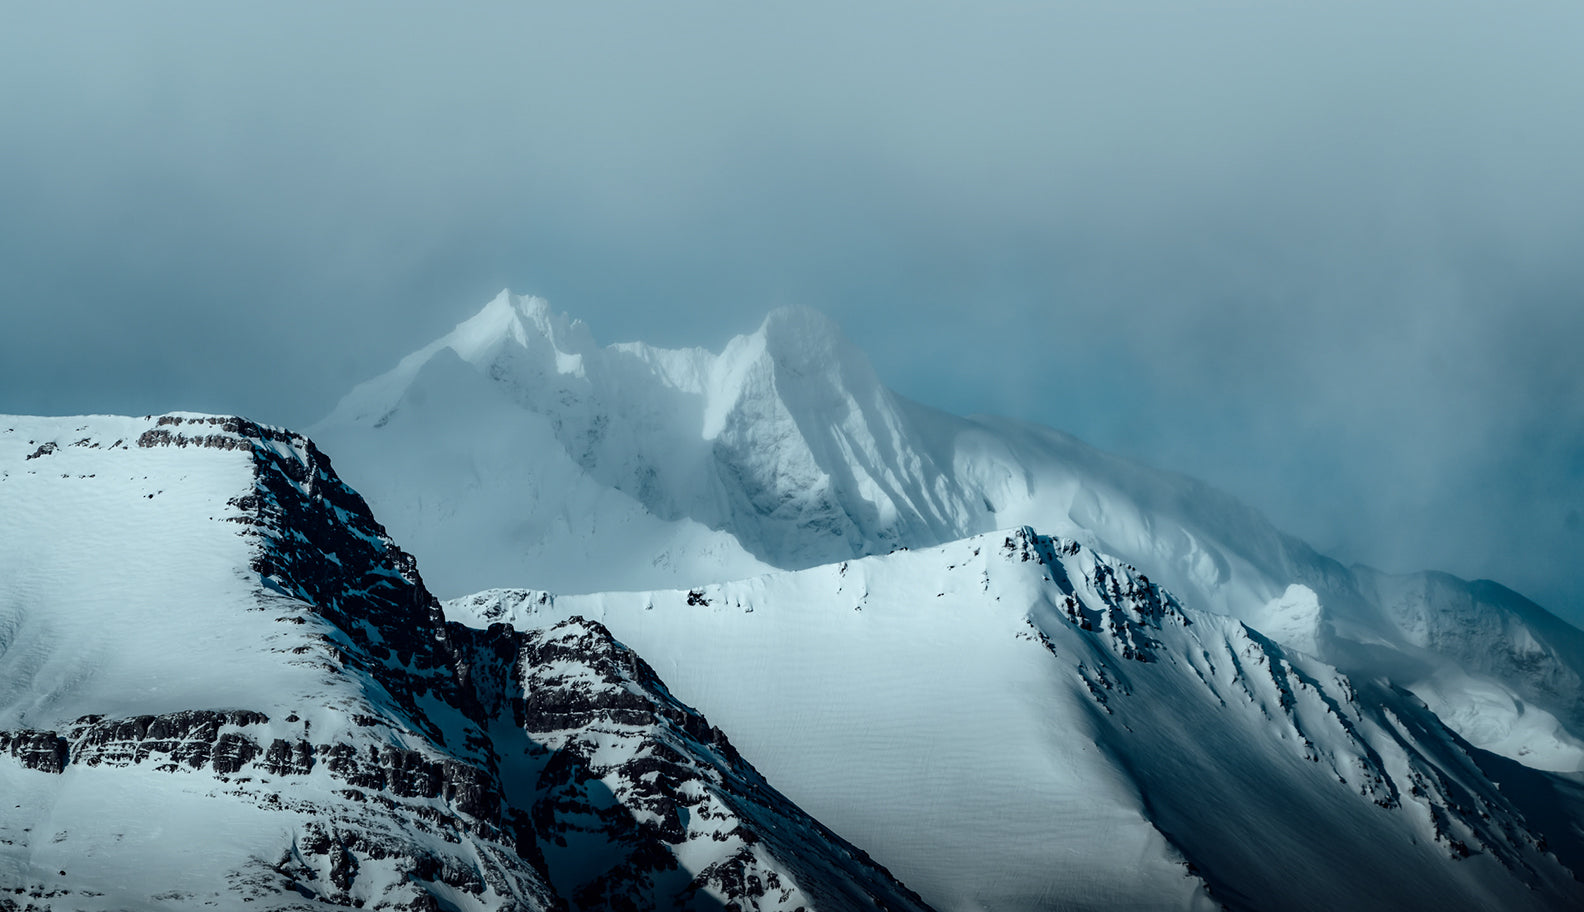
Iceland is a photographer's/adventurer’s dream destination, defined by its dramatic landscapes with waterfalls, ice-caves, volcanoes, glaciers, black beaches, and so much more! My first trip to Iceland was at the age of 23 with fellow photographers and I can honestly say that Iceland blew my mind with its mesmerizing landscapes. I have been captivated ever since.
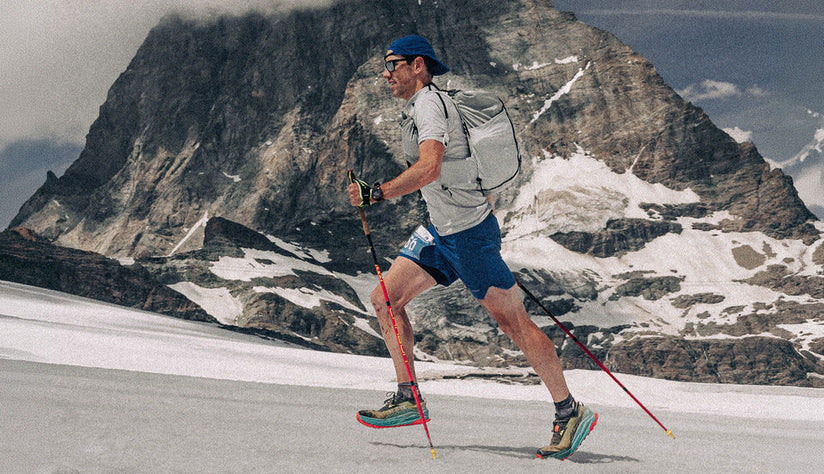
Winter is my favourite time of year to visit. There's something liberating about being at the mercy of the harsh weather and, thanks to Montane, I’ve always been well-kitted out for the extreme elements, which make these harsh environments much more comfortable.
It's hard to describe Iceland with words, it's more of a feeling you experience when travelling around the island. The vast landscapes have scale that only your eyes can comprehend. I think, for photography, having such an open landscape gives you more space for creativity and allows you to play with different focal lengths to capture subjects in your own style.

Essential equipment
Any camera would allow you to capture Iceland and document your travels, and most of today’s smartphones are brilliant, so don’t let camera equipment limit your photos. I would say researching which locations to visit and at what time would produce better images. The weather in Iceland changes so often, so it’s a case of constantly analyzing the weather, the sunset and sunrise times, as well as the Aurora and making decisions which will lead to an amazing image.
For the majority of my photography, I tend to use my full-frame Sony A7 RIV along with various lens:
- 16-35mm F2.8 GM
- 24-70mm F2.8 GM
- 100-400mm GM
- 24mm F1.4 GM
- 50mm F1.2 GM
- 85mm F1.4 GM
- 100mm F2.6 Macro
- I’ve also recently bought a Leica M11 which I’ve been using more recently for travel along with 28mm F2, 50mm F1.1m 75mm F1.2

Planning for photoshoots
Whether for work or personal use, I always try to find my own locations when it comes to capturing my images. Due to working in the automotive and outdoor industry, I tend to do a lot of travelling worldwide and get to see so many amazing places. I always have my phone on hand so that I can pin any interesting/unique locations on Google Maps which may have the potential for the future. If I'm going to a specific location, I’ll research the area so I am prepared and have some idea of what I would like to capture.
Typically, I tend to look on Instagram first for inspiration, then use Google Maps to find some unique locations nearby. Once I’ve found potential locations, I will then use Photo Pills, an app that allows you to see where the sun and moon will rise and set, along with the stars allowing me to plan ahead and capture my desired content. I also keep an eye on the weather by using the Met Office / Dark Sky App and I keep an eye on the Aurora, using the Aurora Now app.

Top tip: Capturing interesting light
I often feel capturing interesting light is often overlooked when starting out in photography but, for me, is one of the most important aspects. The majority of my automotive and landscape photography has been taken during sunrise, sunset and, my all-time favourite, blue hour. By shooting at these times of the day, the light is much harsher or softer on your subject and you will have some beautiful backlight to work with, which you can use to draw attention to your subject. I also like to play on the conditions and, if it’s golden, enhance this to make it very warm and, if it’s cold, add some split toning to make it extra cold. When combining the warm and cold images together, it can give a really contrasting set.

Tip 2: Polarizers
Polarizers are essential in my camera bag and I will never leave the house without one. These are handy tools when capturing landscape photography. By using a polarizer, they can dramatically reduce the amount of reflected light. Polarizer filters are super helpful when shooting water or blue sky, as they cut down the glare and help to bring out more detail in the highlighted and shadowed areas. Ultimately, they help bring back details and give you more control.
Tip 3: Location, Location, Location
I often feel like people buy fancy cameras and expect them to take amazing photos without much effort; however, the number one way to take better photos is to shoot something that looks incredible. So find a great subject or a great location (or both) and shoot in amazing light, make sure everything in front of the camera lens looks as good as possible before worrying about what lens and camera settings etc. and, once this is complete, then focus on the camera.

Tip 4: Enhancing your Photos
Enhancing photos with photo editing can be very simple or very complex, depending on what you're trying to achieve and depending on how much time or skills you have. But even putting a filter on an image using your camera roll or a photo editing app can drastically improve your images, giving them the look and feel you wanted to achieve. For those more advanced, you can colour grade in software such as Lightroom or capture one and then retouch unwanted objects using Photoshop to clean up the image. You can then use apps such as Lens Distortions to add in dramatic sky or artefacts to help draw more attention to your subject.
Tip 5: Framing
Drawing attention to your subject is one of the most important things for me when shooting images. I always frame my subject in the middle of the images; this is totally my preference, however, I find it the most obvious place people look when they first glance at an image. I then use the foreground to draw attention towards the subject in the middle.
Once I begin to edit, I often darken the lower part of the image and brighten / dehaze the upper part of the image using light flares, to push the eye back down towards the subject. Another trick would be using artefacts such as light leaks and flares with a crystal or, in post-production, blur sections of the image again, pushing your eye towards the subject of the central frame.
Feeling inspired?
This article and the images included within were brought to you by photographer Tom Kahler. Take a look at his website or connect with him on instagram to be blown away by more stunning images he regularly captures.
Tom joined us in Iceland to capture some of our new autumn winter kit in action, including the Tundra Down Jacket for men and women and our warm Chonos Fleeces. Both pieces are great options for adventure enthusiasts eager to explore this unique, exposed landscape. For more Icelandic inspiration #TeamMontane hiker and climber Jessie Leong shares her experience of exploring Iceland in mid-winter.